
In January 2010, I planted, on the advice of my nursery-man, four little sticks. In the intervening year and a half, I’ve learned a reasonable amount about said little sticks, and I’m going to share it now. (: I am pretty sure that ‘long around September I’m going to have an addendum to this post […]
Peach-Smoked Pork Chops
One of the major challenges of smoking pork is that the well-known applications tend to take time. In the case of ribs or shoulder, it’s time on the grill; bacon, it’s a week in a brine. So I share an approach which I successfully created yesterday. Because of the title, you’ve probably already guessed that […]
[Basics] Red Sauce
Everyone should be able to make basic spaghetti sauce. Everyone. And there’s no excuse for it to not be fabulous, when it’s really easy to do. This is what I do; feel free to play with it, ’cause it takes just fine to adaptation. Red Sauce 2 32-oz cans crushed tomatoes 2 6-oz cans tomato […]
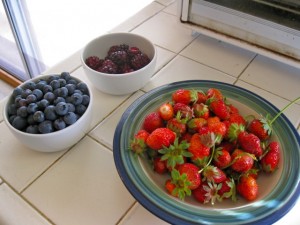
Offered without further comment: today’s
Roasted Tomato Panini
No pictures. I know, I know. I ATE IT ALL, okay? ^_^ This is a great thing to do with leftover ricotta, which I often have, and then dither on what I should do with it. No dithering here! If you want to be luxurious, add a slice of prosciutto to each sandwich, or leftover […]
Poudre Douce and Poudre Fort
If you don’t do a lot of medieval cuisine, you’ve probably never heard of poudre fort and poudre douce — literally, strong powder and sweet powder. I was first introduced to the concept when I was doing SCA regularly, via a nifty little pair of books called Take A Thousand Eggs or More, by Cindy […]