The Chef’s Garden: A Modern Guide to Common and Unusual Vegetables — With Recipes lives up to its subtitle. It is a thorough discussion of “common and unusual vegetablesâ€, ranging from garlic flowers to carrots to ground cherries, “with recipes†that are slated for experienced chefs. With such a sweeping subject matter, it’s a hefty […]
My arborist told me this was a crabapple...
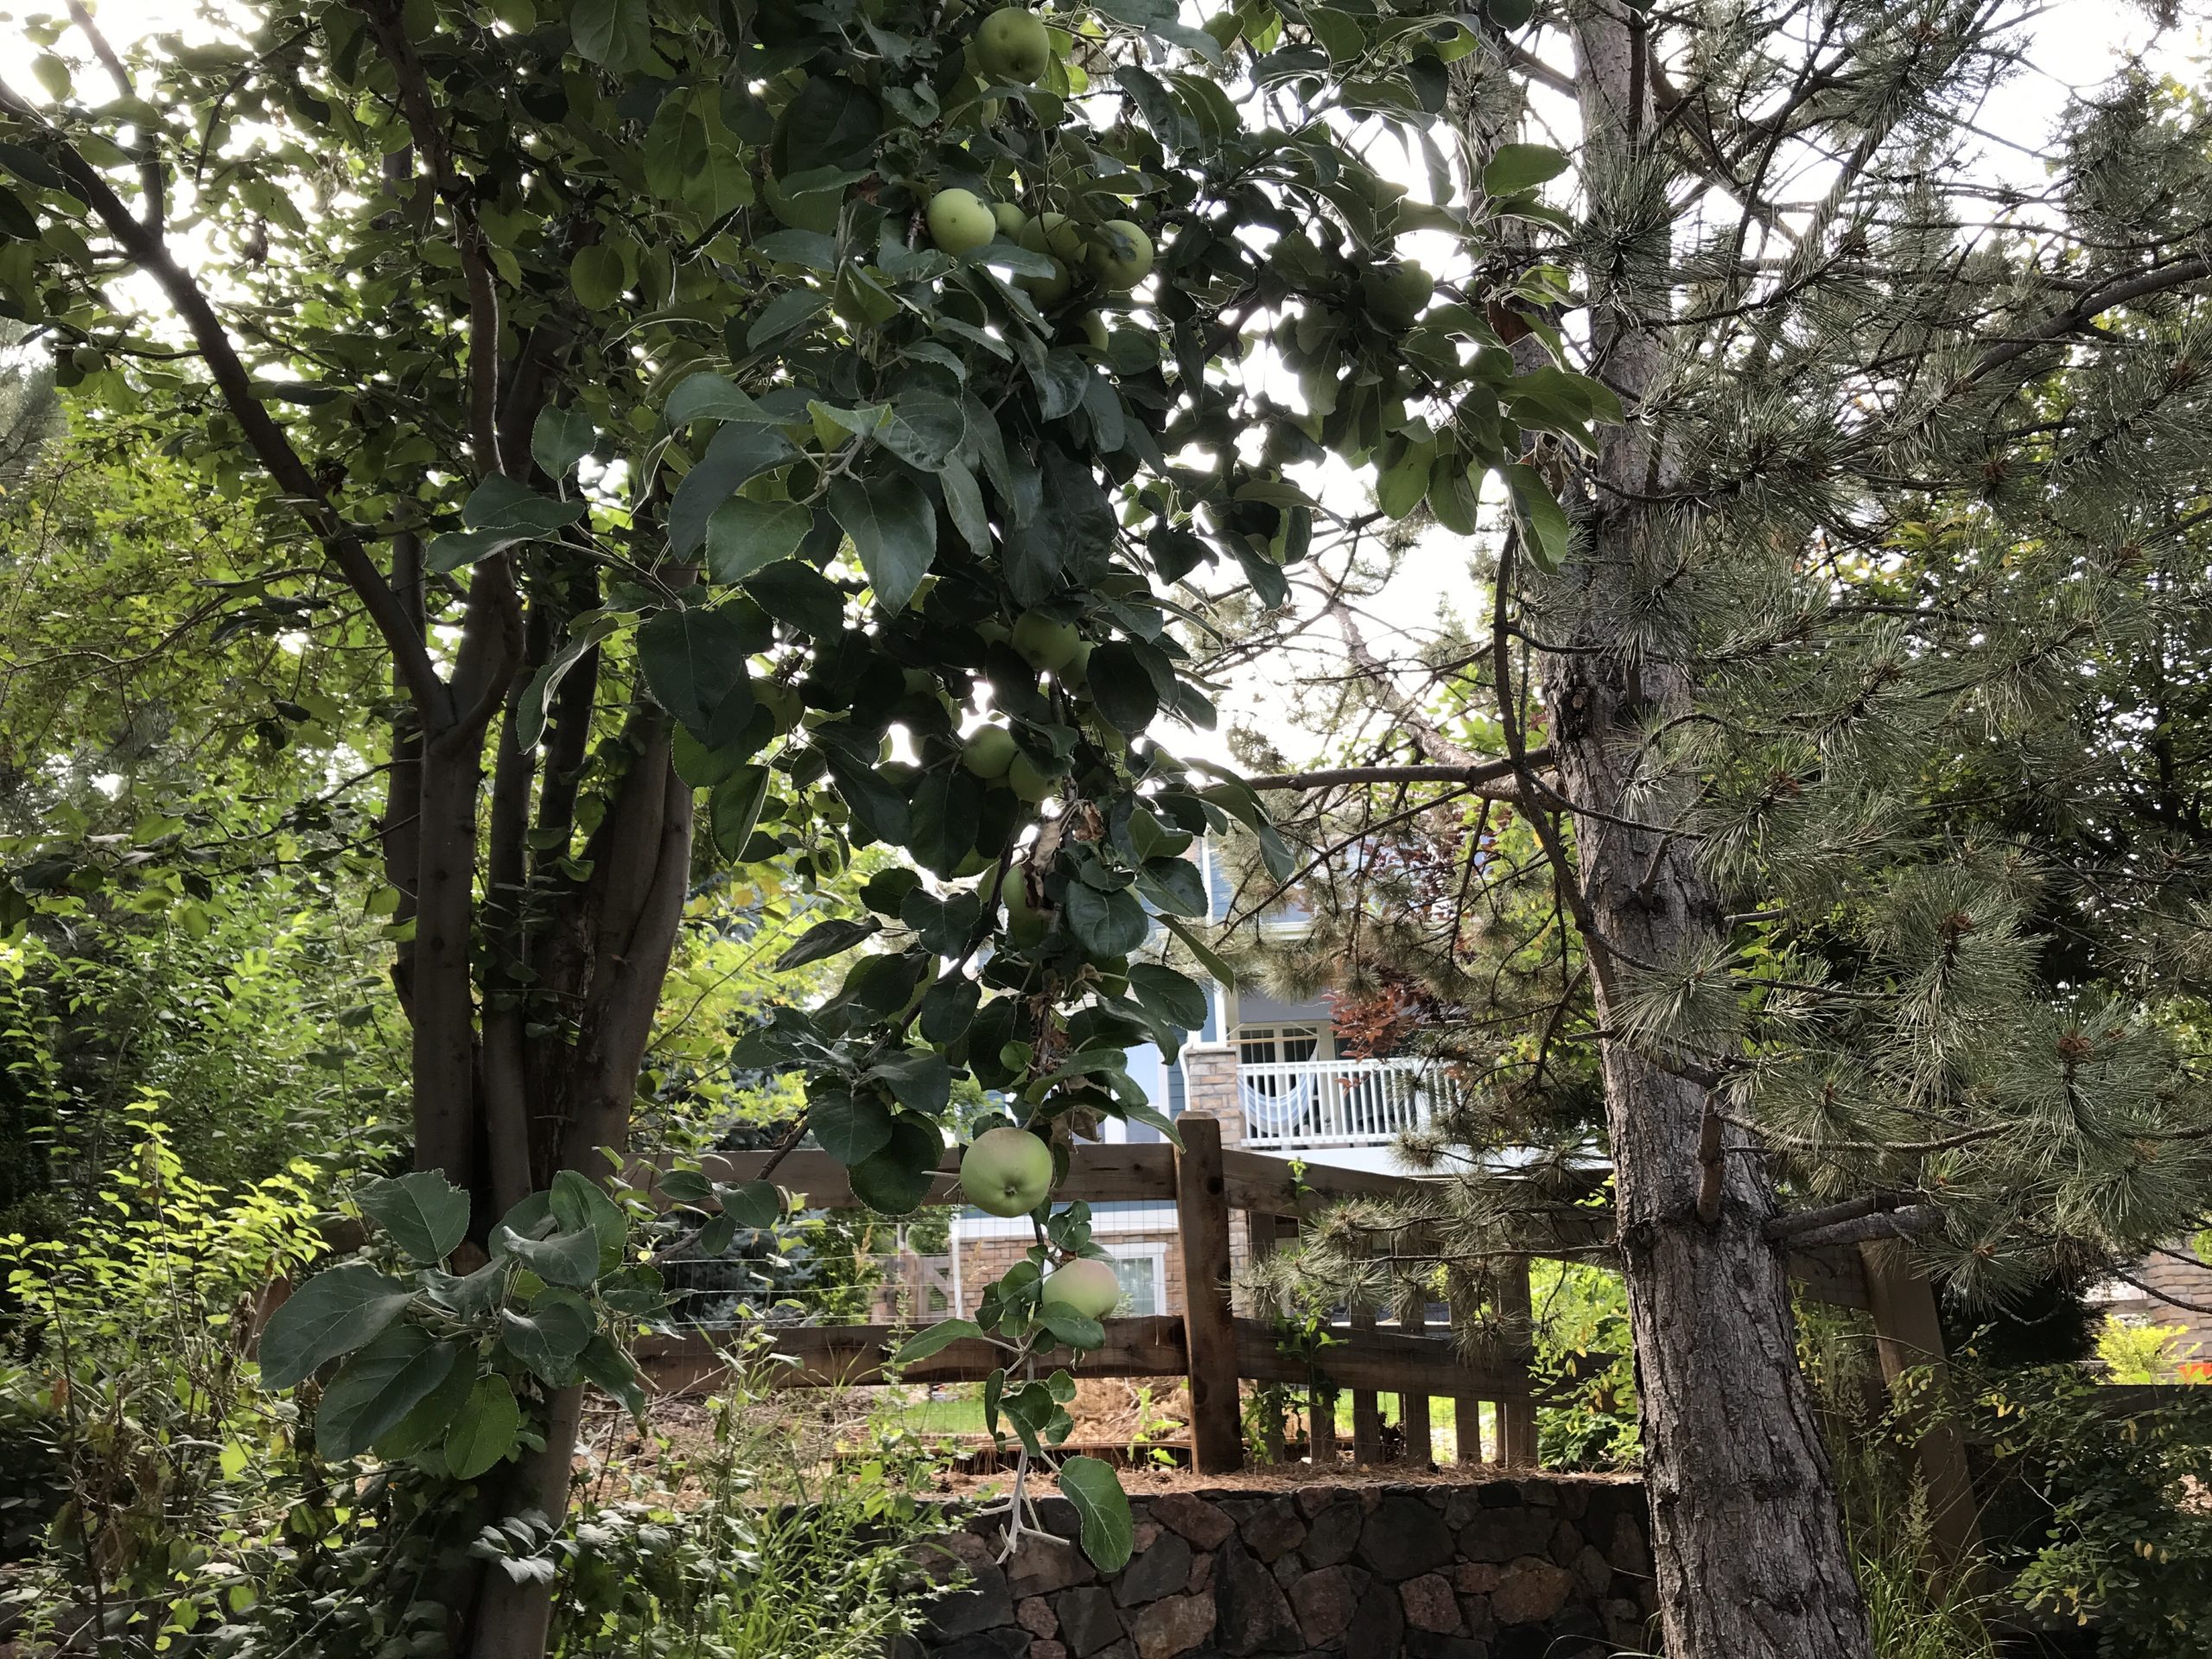
Those are the biggest crabapples I’ve ever seen, if that’s the case. They’re bigger than a golf ball, though still smaller than a baseball. I sampled a windfall this morning, and while it clearly wasn’t ripe, it was starting to develop an apple sweetness, certainly moreso than the windfall I tasted a few weeks ago. […]
Five weeks later …
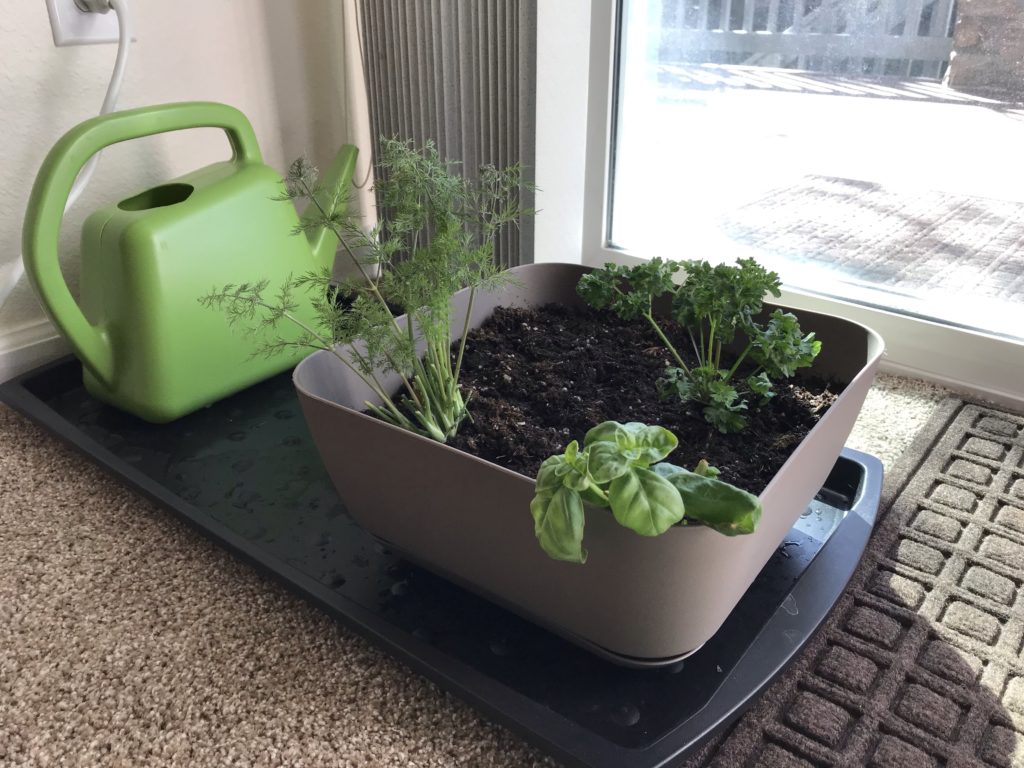
The aerogarden has new seedpods in it. No, nothing bad happened. In fact … The plants got so big we were having trouble eating them quickly enough. Well, really, that was the dill. We like dill, but not to the point of eating it every day. So after some consideration, I decided to try to […]
Not bad for a week’s worth of growth.
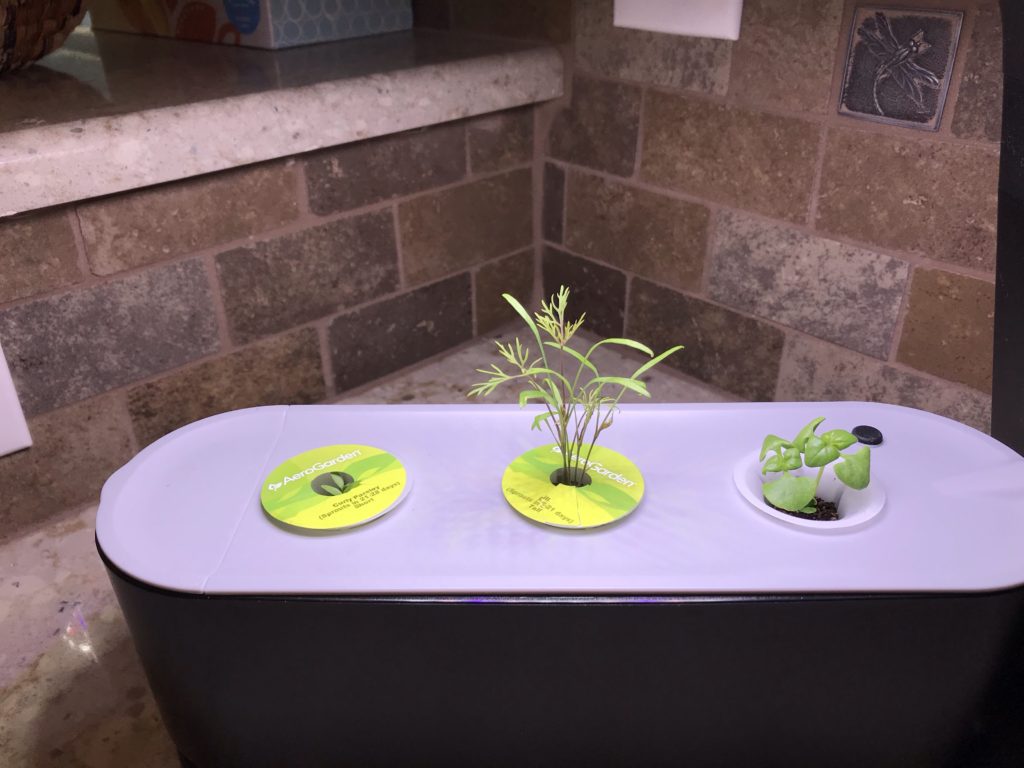
The World’s Smallest Aerogarden has been busy! It’s great to see some true leaves. It’s been about two weeks since I set up the aerogarden. It alerted me that it was in need of more plant food, but I will admit to being a bit skeptical given that there was virtually no water consumption, and […]
I bought the world’s smallest Aerogard
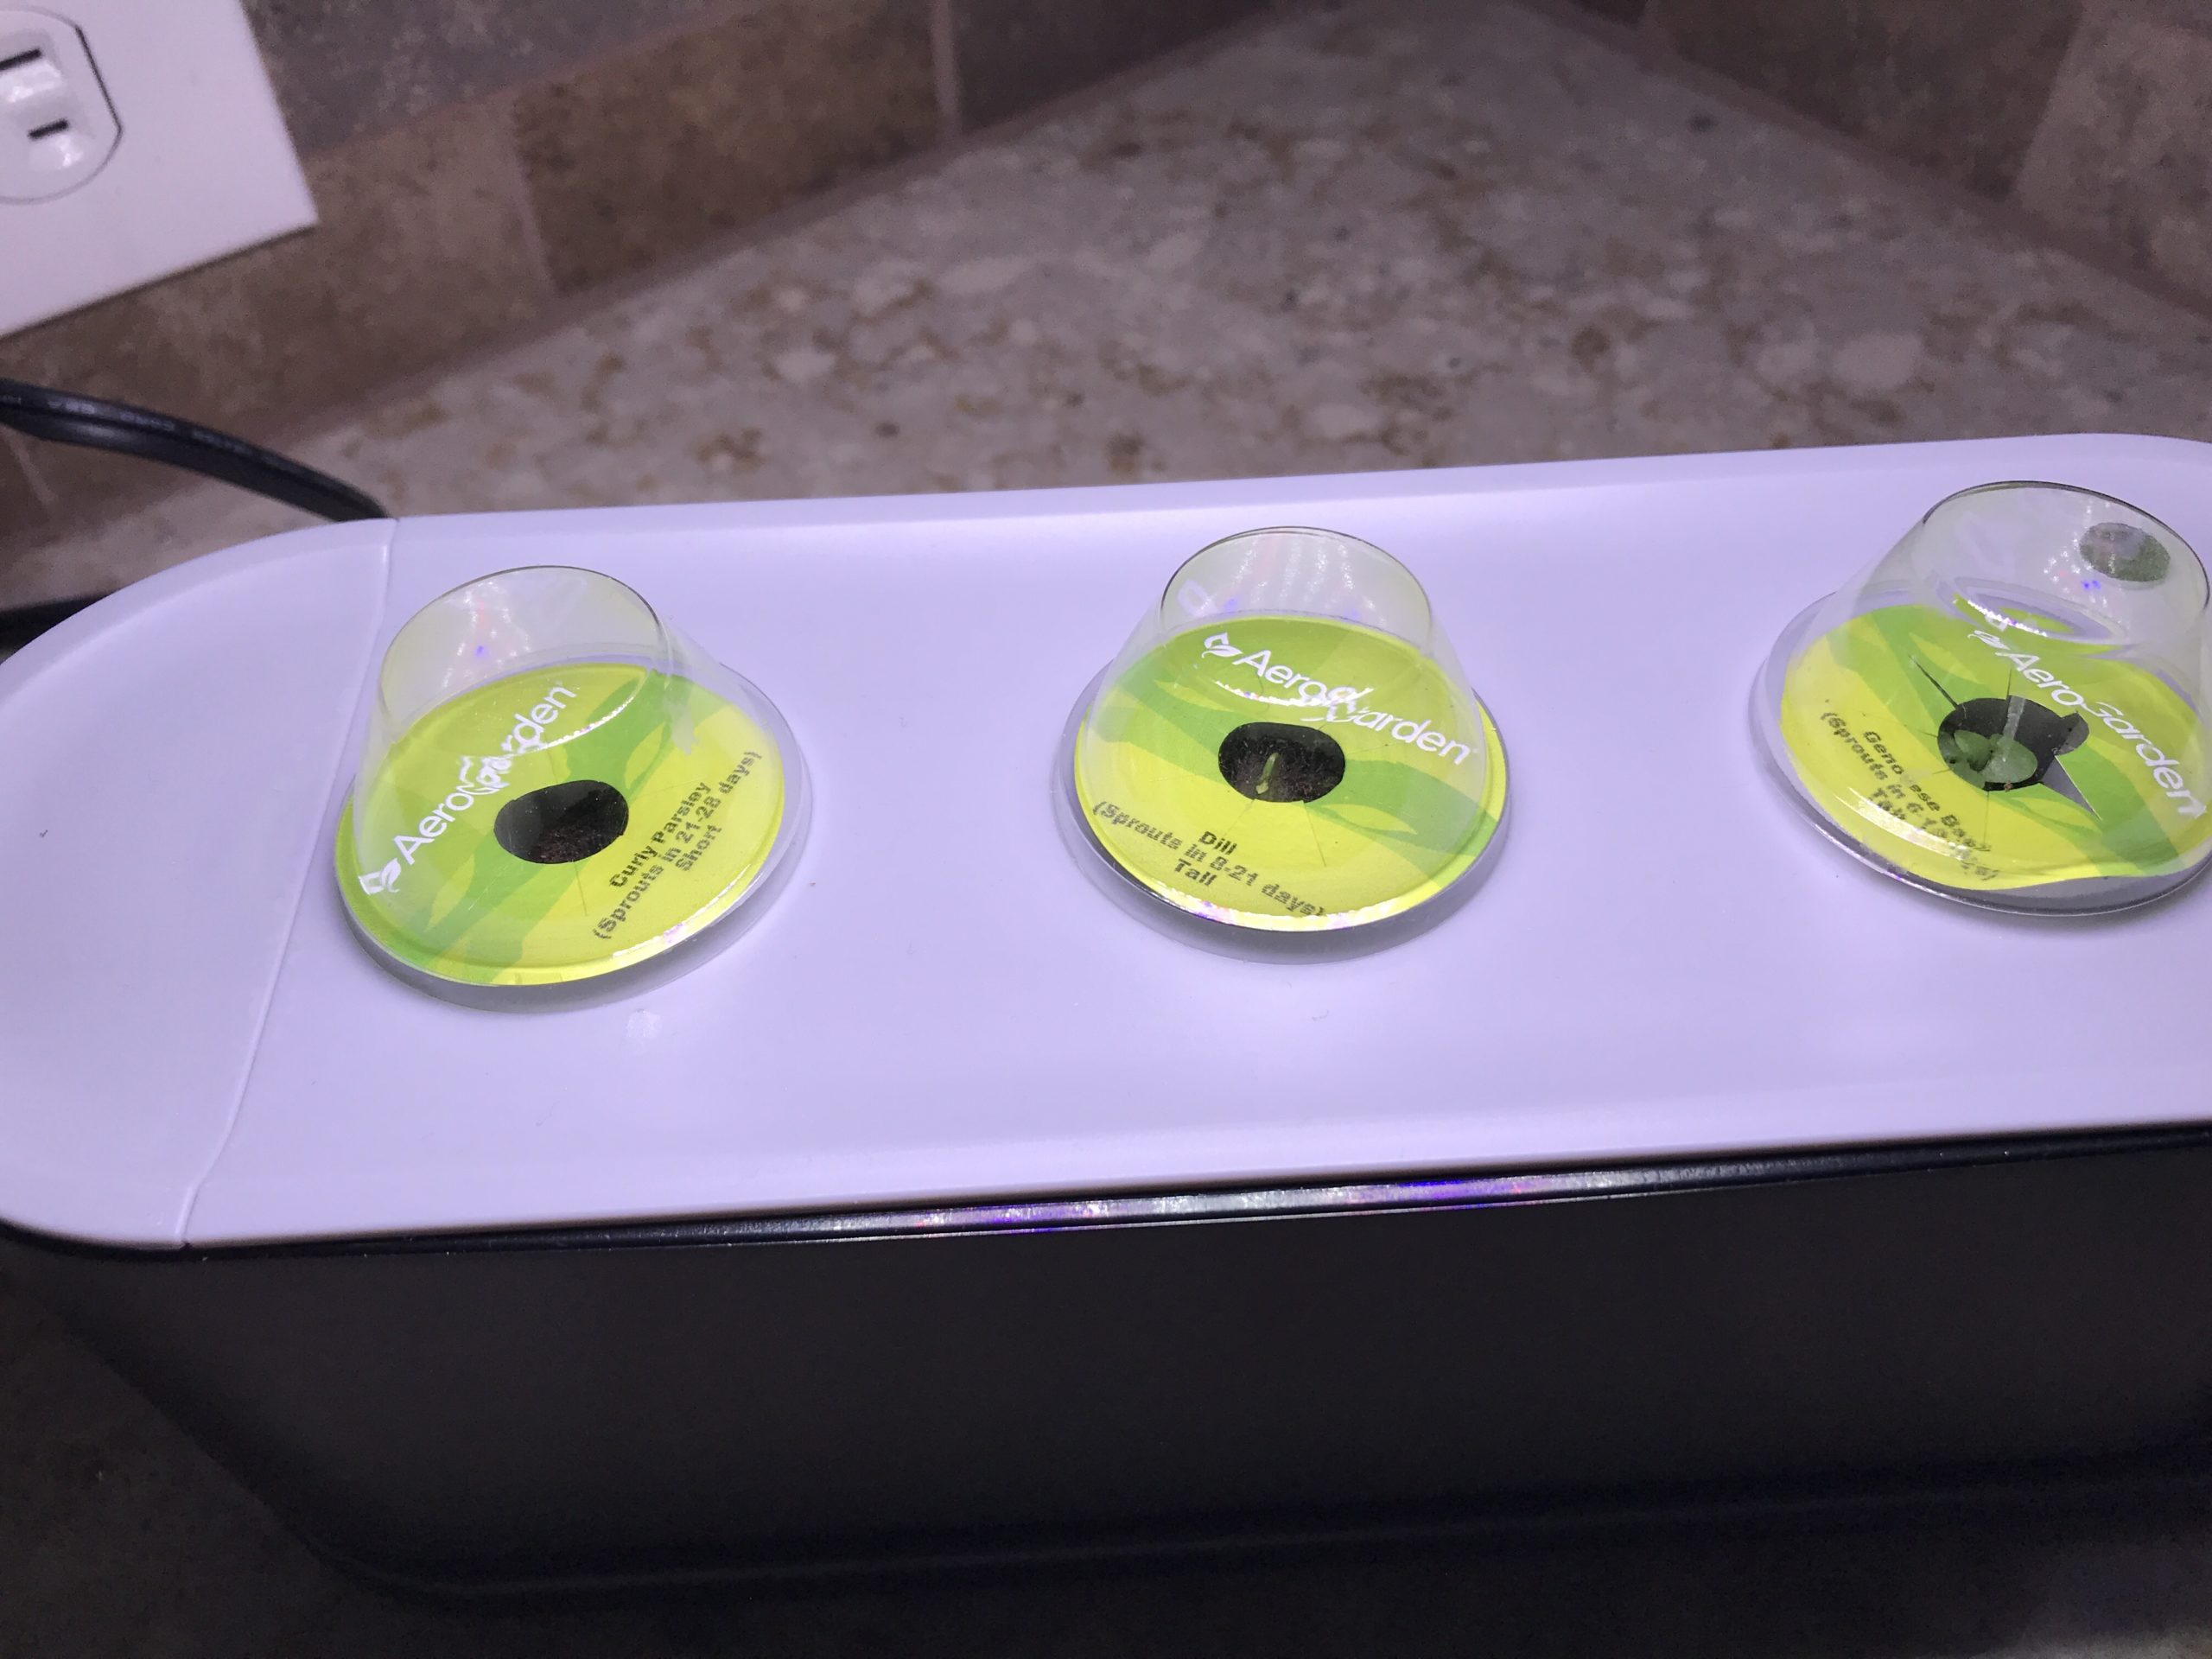
After a winter of snow, melt, more snow, more melt, more snow, I was about climbing the walls wanting to grow something. Anything. Not a succulent. (I have one. They’re nice, but not especially Good Eats.) I got a Sprout-model Aerogarden. I’ve done hydroponics before, but never inside, so I figured it’d be an inexpensive […]
In dire need of a decent mobile theme.
Title says it all. Never a good thing when you don’t like looking at your own site because it looks awful on mobile. I intend to spend some time banging on it later this week and hopefully get it squared away. Much easier to return to regularly scheduled content when you like what you see.
Turkey and Havarti Tea Sandwich
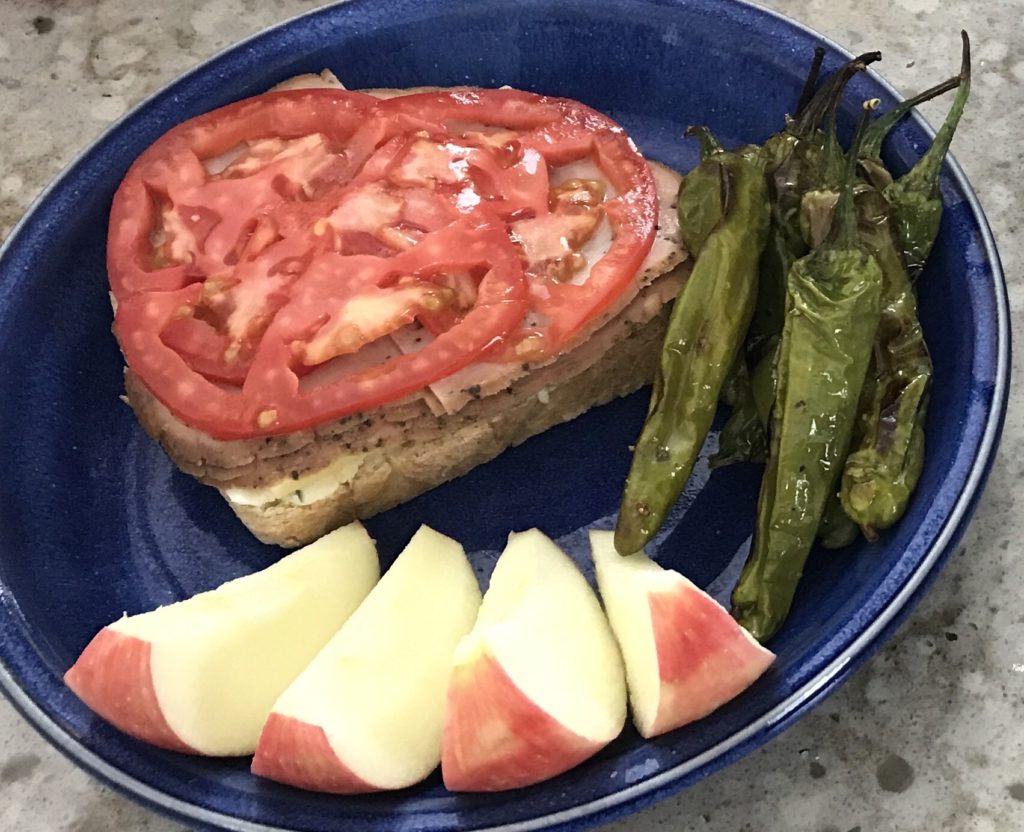
I no longer live in the land of Boudin’s. Alas. Their turkey and Havarti sandwich is a go-to of mine when I’m out and about. This is not a Boudin’s knock-off, but rather something inspired by their concept, and evolved based on what was in my kitchen. It is simple, delicious, and hearty for something […]
Welp
I lied. Never got around to those radish tops. Did make some fun things like paleo potstcker meatballs. I did mine with beef instead of pork, and coconut flour instead of tapioca. Worked great. We had them on salads, dressed with my usual potsticker sauce (sesame oil, soy sauce, tobanjiang, and either rice vinegar or […]
Today became a scramble
I’d been intending to spend the day doing a bunch of little odds and ends around the kitchen, and finish up with working on the site. I’d like to update the blog style and add some pictures and — well, you know, all that stuff that comes along with making a nice-looking blog. Instead, I’m […]
I’m alive.
Really, I swear. There have been a lot of changes in my life, starting with: I no longer live in California. As of two months ago I became a resident of the amazing state of Colorado. It’s been exciting but also nervewracking. Obviously I don’t need to talk about the pandemic, everyone and their brother […]